
Faucet repair tips - Faucet repair steps Faucet repair steps Step 1: Remove the small screws above or behind the faucet handle to remove the handle fixed to the faucet body. Some screws are hidden under metal buttons, plastic buttons, or plastic she...
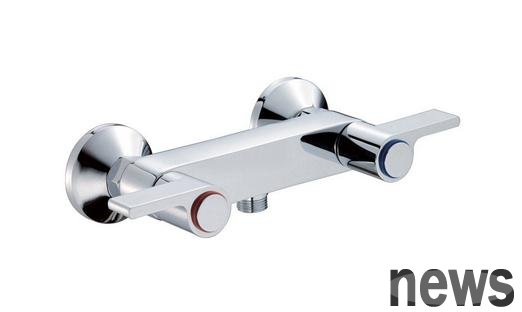
Faucet repair tips - Faucet repair steps
Faucet repair steps
Step 1: Remove the small screws above or behind the faucet handle to remove the handle fixed to the faucet body. Some screws are hidden under metal buttons, plastic buttons, or plastic sheets that snap or screw into the handle. Just turn on the button and you will see the handle screws installed on the top. If necessary, use some penetration lubricant like the WD-40 specification to loosen the screws.
Step 2: Remove the handle and view the faucet parts. Remove the filling nut with large carp pliers or adjustable wrench, be careful not to leave scratches on the metal. Rotate the spool or shaft in the same direction you rotated when you opened the faucet to screw them off.
Step 3: Remove the screws that fix the washer. If necessary, use permeable lubricating oil to loosen the screws. Check the screws and valve cores and replace them with new ones if there is any damage.
Step 4: Replace the old washers with an exact same new washers. New washers that almost exactly match the old washer generally keep the faucet from dripping. You also need to notice whether the old washer has a bevel or flat, and replace it with the same new one. The gasket designed for cold water only expands violently when hot water flows through it, thereby blocking the outlet, causing the hot water flow to slow down. Some washers work in hot and cold water, but you want to make sure the washer you bought for replacement is exactly the same as the original one.
Step 5: Secure the new washer to the valve core and reinstall the components in the faucet. Rotate the valve core clockwise. After the valve core is in place, reinstall the packing nut. Be careful not to leave scratches on the metal.
Step 6: Reinstall the handle and install the button or disc back. Re-activate the water supply and check whether there is still water leakage.
Facial repair tips
The following are the tools you need to replace the faucet seal: adjustable wrench, replacement faucet seal, Vaseline.
If you find that the cause of the leak is not because the nut is loose, you need to replace the seal. The faucet seal may be a tight seal consisting of one or more O-shaped rubber rings, or something like a string or soft metal wire wrapped around the valve core under the packing nut.
When replacing the faucet seal, follow the following steps:
Step 1: Turn off the water supply and remove the faucet handle.
Step 2: Unscrew the filler nut and remove both the nut and the old seal from the valve core.
Step 3: Install a new seal. If you are using a linear sealing material, wrap it around the valve core a few times. If it is a sealing material such as soft wire, it will only be wrapped around the valve core one round.
Put a thin layer of Vaseline oil on the threads of the valve core and the threads of the packing nut before you reassemble the faucet.
How should the faucet be properly repaired when it encounters a leaky water? 4. O-ring of the faucet
The faucet of the kitchen has one or more O-rings to prevent water from gushing out from around the outlet. If the O-ring is worn, you will see water flowing out at the bottom of the outlet each time you turn on the faucet.
If the faucet is damaged, you can actually learn how to repair it yourself. As long as you are good at doing things, you can also be exempted from a repair fee.